Active coding: STEM in PE
Here is an integrated warm-up activity that ties in with computer coding. I made
Read More
Here is an integrated warm-up activity that ties in with computer coding. I made
Read More
I’ve found that playing music adds a wonderful dimension to a PE class. I
Read More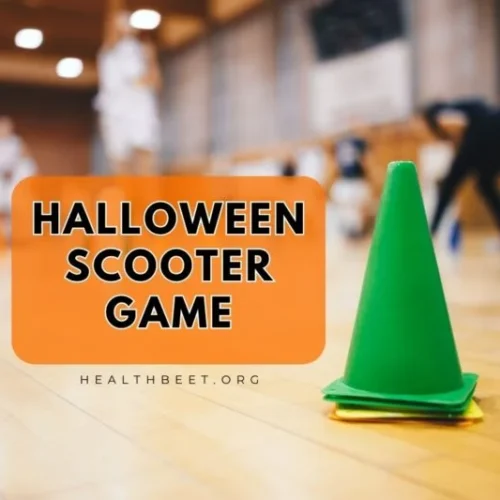
Halloween is just around the corner and we like to celebrate a bit in PE.
Read More
A fun run is a great way to motivate your students to move and to get their fami
Read More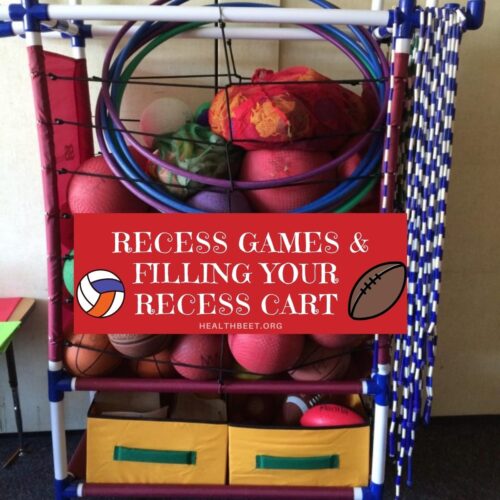
New post found at https://healthbeet.org/3-classic-recess-games-filling-a-recess
Read More
My youngest classes love dancing and moving to music. I use music on a dai
Read More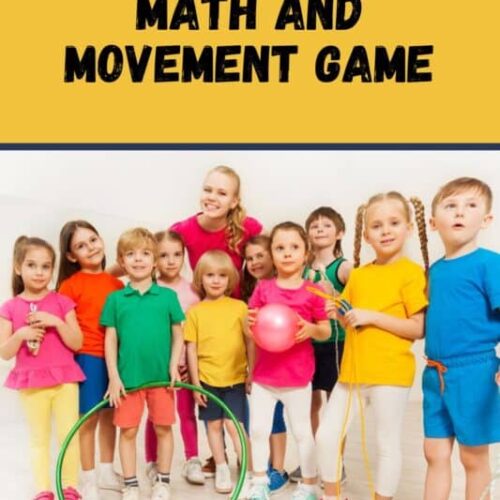
Math and movement are easily combined to make cross-curricular games that reinfo
Read More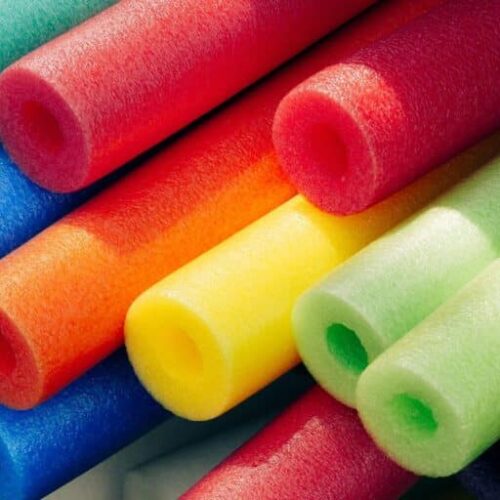
Foam pool noodles are great for many games and activities. They are also f
Read More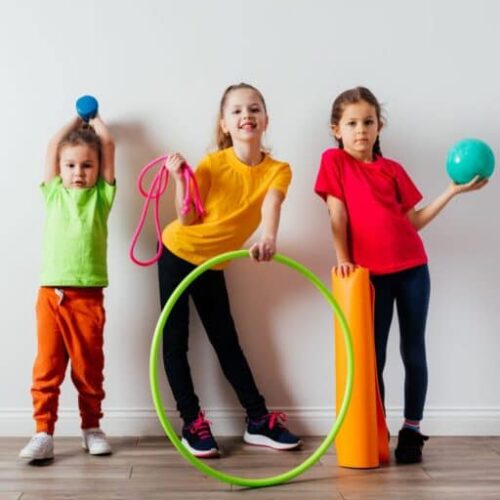
Do you want your students to deeply engage in a new skill? Or want to enco
Read More
Add some fun and creativity to your warm-ups with this animal warm-up. &n
Read More